October 10, 2026


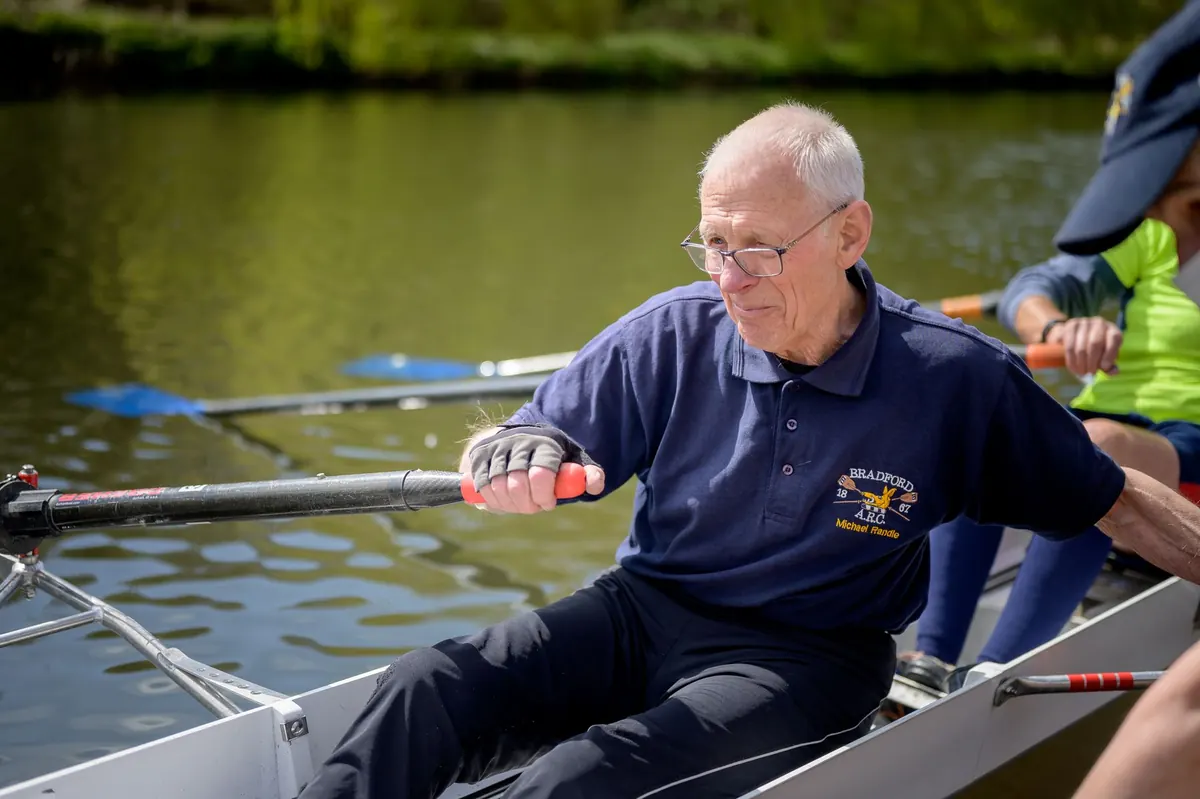
Rowing looks calm from the bank. From the seat of a single, it feels like patting your head, rubbing your stomach, and balancing on a rolling log at the same time. Both versions are true, and the wobble passes faster than most beginners expect. The trick to a good first month is unglamorous: join a club with a real learn-to-row program, borrow gear instead of buying it, and give your body time to learn a movement pattern it has never done before.
Teaching yourself to row from videos is possible in theory and miserable in practice. A coach standing on the dock can fix in five seconds what you might chase for five weeks alone — usually something small, like the angle of your hands or the order your legs fire.
Start by looking for clubs, community boathouses, university programs with adult memberships, and masters squads within reasonable driving distance. Most run structured learn-to-row courses of four to eight sessions, which is the safest way in. Costs vary by region and club, so ask directly rather than guessing.
When you get in touch, ask a few pointed questions:
A club that answers these clearly usually teaches well. If you want fitness and quiet mornings, a recreational group will suit you. If you want to race, say so early; competitive squads expect more sessions per week.
Rowing has a reputation for being expensive, and it can be — later. In your first month, it shouldn't be. Clubs supply boats and oars, and many lend or rent indoor rowers.
What not to buy yet: a scull, a set of oars, a rowing-specific unisuit, or a heart rate monitor you don't know how to use. Wait until you know what kind of rowing you actually enjoy.
One note on your body: rowing loads the lower back, ribs, and shoulders. If you have a history of back or rib injury, or you're returning to hard exercise after a long break, talk to a doctor or physiotherapist before you start and tell your coach what they said.
The first session is usually on an erg, and that is a gift: no balance to manage, so you can focus on sequence. Expect your legs to feel fine and your lungs to object. Keep the stroke rate low and the effort controlled — smooth beats fast.
Your first boat should be wide and stable, often a training single or a four with a coach following in a launch. It will feel tippy for roughly the first fifteen minutes. Then your body starts making micro-adjustments without being asked, and the boat settles.
Learn two safety skills before anything else: how to get out of a capsized boat, and what your coach's signal is for stopping and returning to the dock. Ask about water temperature and weather limits. As a beginner, the answer to "can I row alone?" is no.
Every rowing stroke cycles through the same four positions. Learn them in order and the rest follows.
Three habits cause most beginner trouble: pulling with the arms before the legs have finished, rushing the slide forward so the boat checks, and gripping the handle like it owes you money. A loose grip and a long, patient recovery fix more problems than extra power ever will.
Forget split times. In your first month, aim for things you can control:
Two or three sessions a week is plenty at the start. Your body needs the days between them more than it needs volume.
Rowing is a full-body sport, and it will find muscles you forgot you had. Sleep, eat properly, and take rest days without guilt. Sharp pain — particularly in the lower back or around the ribs — is not something to row through. Stop, tell your coach, and get it assessed by a qualified professional rather than pushing on.
By the end of your first month, you should be able to sit in a boat without thinking about balance. That frees your attention for technique, and it is the real milestone.
Then decide what you want. If you like the technical puzzle, ask about more time in a single. If you like the crew, join the novice squad. If you like the training, ask a coach for a simple erg plan. Whatever you choose, keep the pattern that got you here: show up, row within yourself, and let the coach fix one thing at a time.
Photo: platinumportfolio / Pixabay

All about rowing as a hobby.
Copyright © 2026 Row Hobby. All rights reserved. Row Hobby.